7 min read • 1,542 words
How to Install and Use Git on Windows
In today’s software development landscape, version control is essential for managing code changes and collaborating with others. Git is one of the most popular version control systems, and knowing how to install Git on Windows is a valuable skill for developers, whether they are beginners or seasoned professionals. This article will guide you through the steps to install Git on your Windows machine and provide an overview of its basic functionalities.
By following this guide, you will learn how to download the official Git installer, set up your user information, and access Git through the Command Prompt or Git Bash. Additionally, you will become familiar with common Git commands such as git clone, git add, git commit, and git push, which are crucial for managing your repositories effectively. Understanding these concepts will empower you to work more efficiently in collaborative coding environments.
Step-by-Step Tutorial
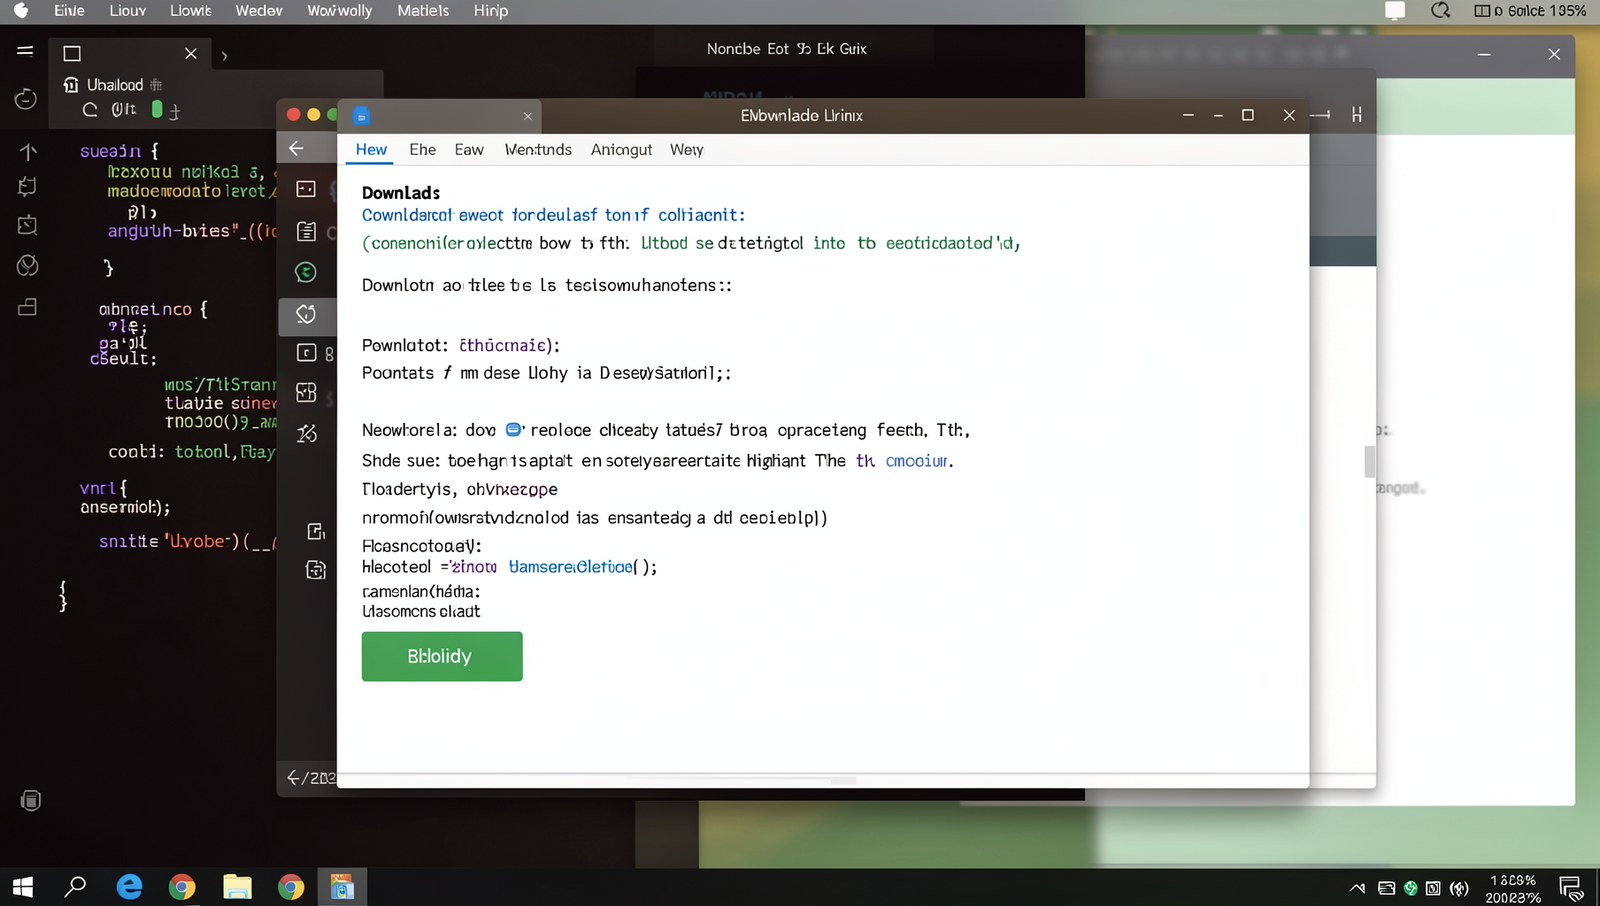
Step 1: Download Git for Windows
1. **Visit the Official Git Website**: Open your preferred web browser and navigate to the official Git website at https://git-scm.com/. This site is the primary source for downloading Git and contains the most up-to-date information regarding its features and installation.
2. **Locate the Download Button**: Once you are on the homepage, look for the prominent ‘Download’ button. The website is designed to automatically detect your operating system, so if you are using Windows, it should display a button specifically for that platform.
3. **Initiate the Download**: Click on the ‘Download’ button for Windows. This action will start the download of the Git installer file. Depending on your internet connection speed, this may take a few moments.
4. **Check System Requirements**: Before proceeding with the installation, it is advisable to check the system requirements listed on the website. This ensures that your computer meets the necessary specifications to run Git efficiently.
5. **Download the Latest Version**: It is recommended to download the latest version of Git to take advantage of the newest features and security updates. The website will typically offer the most recent stable release.
6. **Verify Architecture Compatibility**: Ensure that you download the version that is compatible with your Windows architecture, whether it is 32-bit or 64-bit. This is crucial for the successful installation and operation of Git on your system.
After completing these steps, the Git installer will launch, allowing you to proceed with the subsequent installation steps.
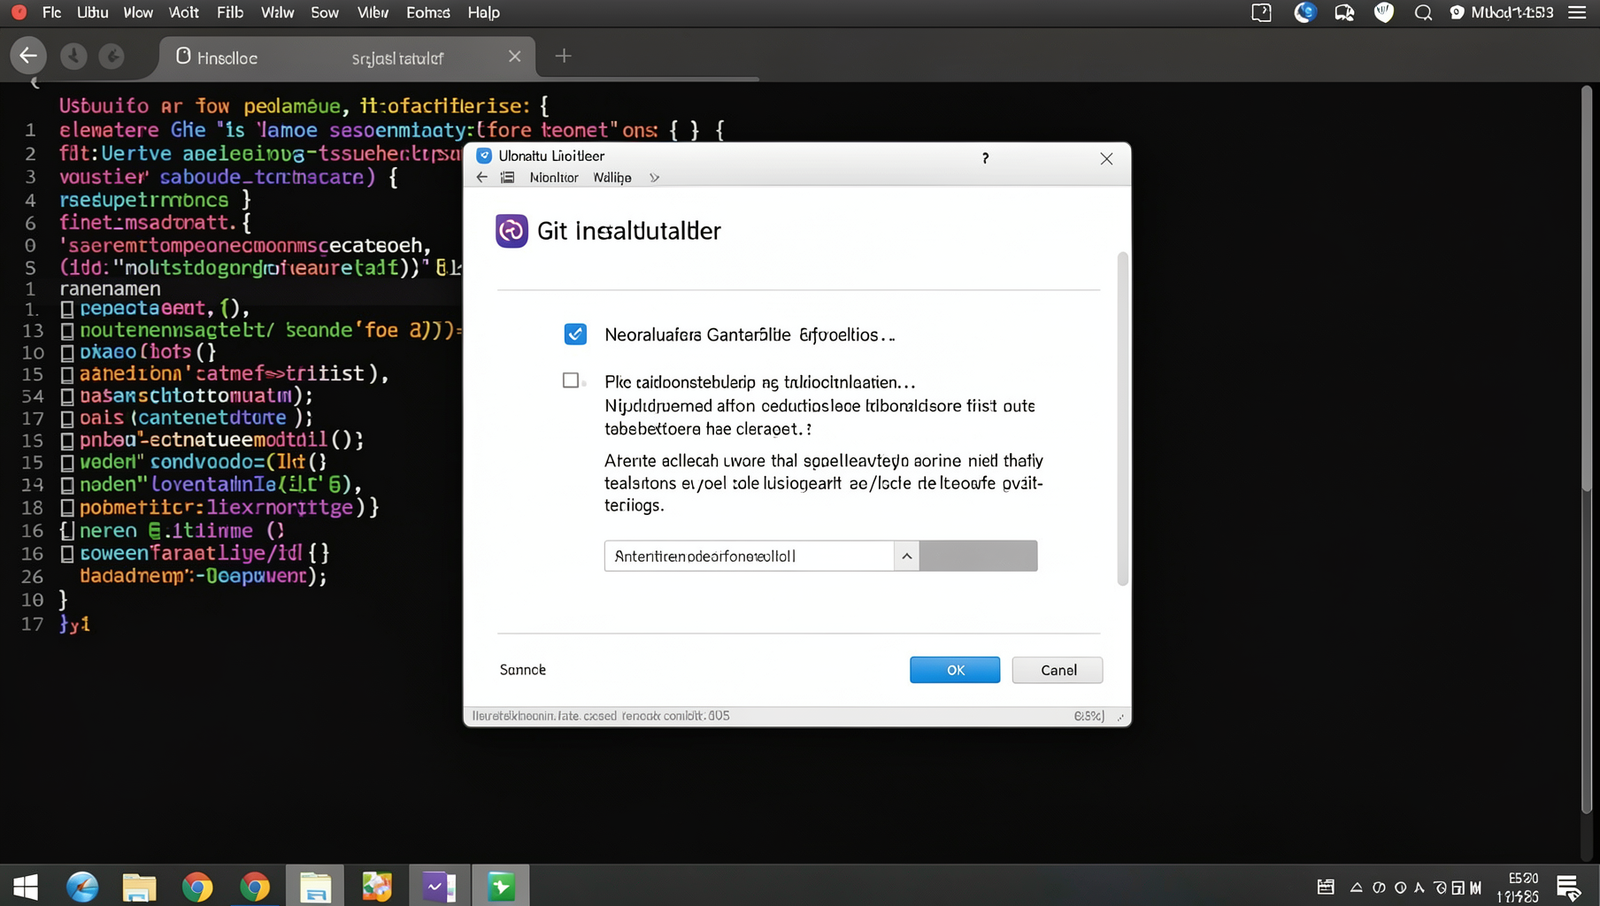
Step 2: Run the Installer
1. **Launch the Installer**: After downloading the Git installer from the official website, locate the downloaded file, usually found in your “Downloads” folder. Double-click the installer file to begin the installation process.
2. **Welcome Screen**: Once the installer launches, you will be greeted by the setup wizard. Click “Next” to proceed to the next step.
3. **License Agreement**: Read through the license agreement carefully. If you agree to the terms, select the checkbox indicating your acceptance and click “Next” to continue.
4. **Select Destination Location**: The installer will prompt you to choose a destination folder for the Git installation. The default location is typically fine for most users. If you wish to change it, click “Browse” and select a new folder. Click “Next” to proceed.
5. **Select Components**: You will see a list of components to install. It is recommended to keep the default selections, which include Git Bash and Git GUI. However, you can customize your installation by selecting or deselecting components as needed. Click “Next” when you are satisfied with your selections.
6. **Adjusting Your PATH Environment**: You will be prompted to choose how to use Git from the command line. The recommended option is to use Git from the Windows Command Prompt. Select your preferred option and click “Next”.
7. **Choosing HTTPS Transport Backend**: You will have options for using OpenSSL or the native Windows Secure Channel. The default OpenSSL is generally recommended. Click “Next”.
8. **Configuring Line Ending Conversions**: Choose how Git handles line endings. The recommended option is to checkout Windows-style and commit Unix-style line endings. Click “Next”.
9. **Configuring the Terminal Emulator**: You can choose between using Git Bash or the Windows Command Prompt. Select your preferred terminal emulator and click “Next”.
10. **Finalizing Installation**: Review your selections and click “Install” to begin the installation process. Do not interrupt the installation once it has started, as this may cause errors. Wait for the process to complete.
11. **Completing the Setup**: Once the installation is finished, you will see a completion screen. You can choose to launch Git Bash immediately or finish the installation. Click “Finish” to exit the installer.
By following these steps carefully, you can ensure a smooth installation of Git on your Windows system.
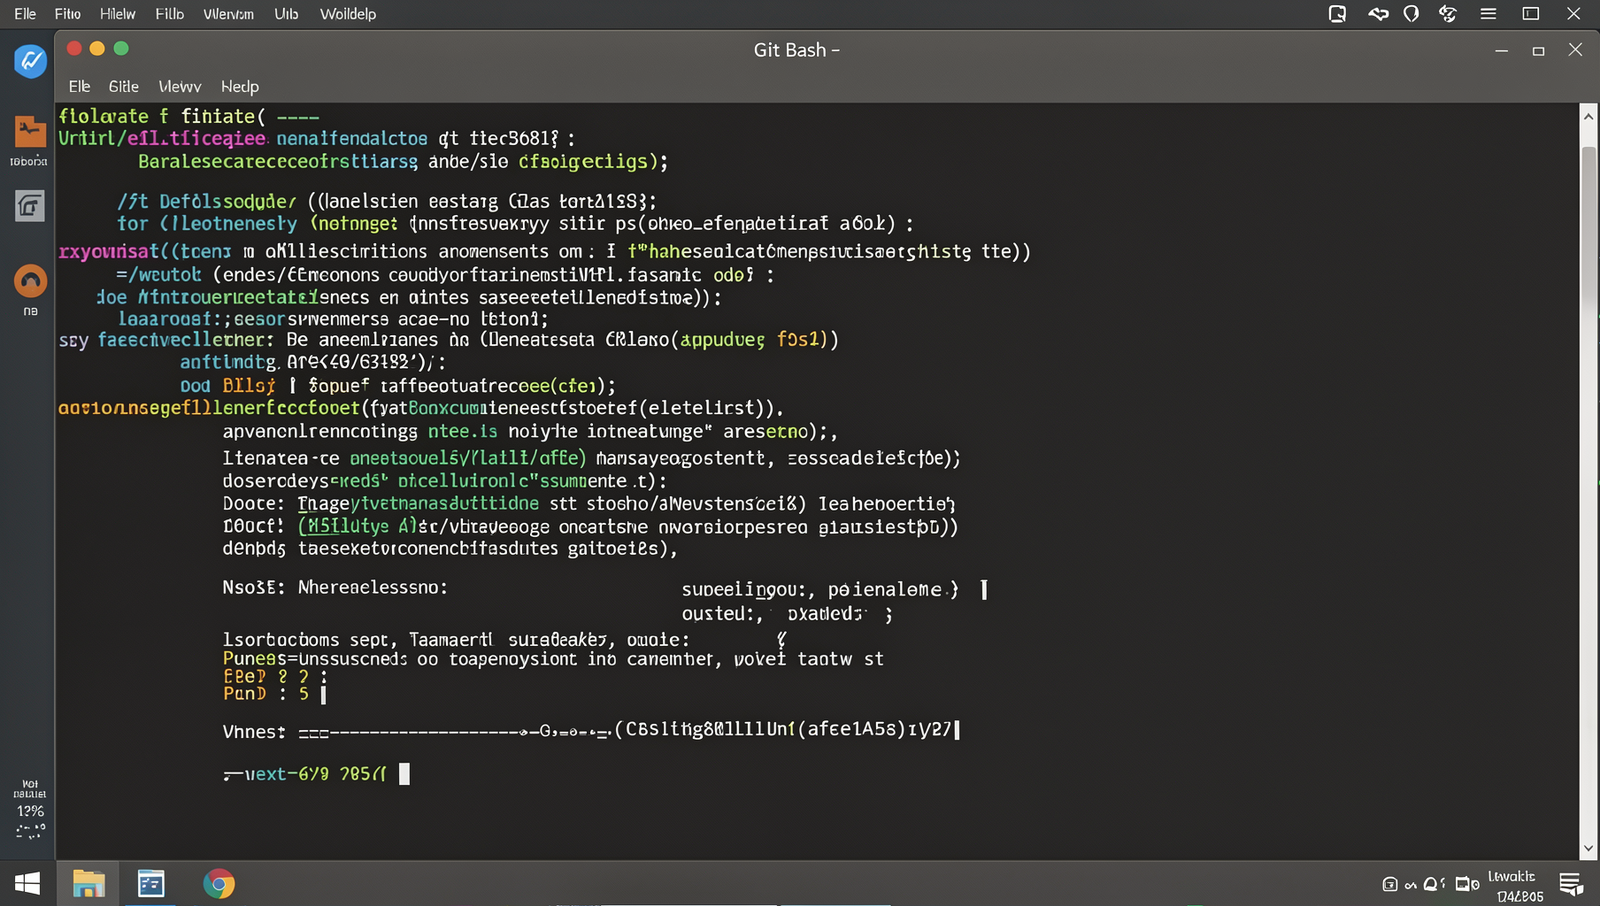
Step 3: Configure Git
Configuring Git is an essential step after installation, as it allows you to set your user information that will be associated with your commits. Follow these sub-steps to configure Git properly:
1. **Open Git Bash**: Start by locating Git Bash in your Start menu. Click on it to open the terminal window where you will enter your commands.
2. **Set Your Username**: In the Git Bash terminal, you need to specify your username. This name will be displayed in your commits. Enter the following command, replacing “Your Name” with your actual name:
git config --global user.name "Your Name"3. **Set Your Email Address**: Next, you need to configure your email address. This email will be linked to your Git commits and should ideally be a professional one, especially for work-related projects. Use the following command, replacing “youremail@example.com” with your email:
git config --global user.email "youremail@example.com"4. **Verify Your Configuration**: To ensure that your settings have been applied correctly, you can check your configuration by running:
git config --listThis command will display your username and email, confirming that they are set up correctly.
5. **Changing Settings Later**: If you ever need to change your username or email, you can simply repeat the above commands with the new information.
By following these steps, your Git user information will be successfully configured without errors, allowing you to start using Git effectively.
Step 4: Create a New Repository
Creating a new Git repository is an essential step in managing your projects effectively. Follow these sub-steps to set up your repository:
1. **Open Git Bash**: Launch Git Bash on your Windows machine. This terminal will allow you to run Git commands.
2. **Navigate to Your Desired Directory**: Use the `cd` command to change to the directory where you want to create your new repository. For example, if you want to create your repository in a folder called “Projects” located in your Documents, you would enter:
cd ~/Documents/Projects3. **Create a New Directory (if needed)**: If you need to create a new directory for your project, use the `mkdir` command followed by the name of your new directory. For instance:
mkdir MyNewRepoAfter creating the directory, navigate into it:
cd MyNewRepo4. **Initialize the Git Repository**: Once you are in the correct directory, run the following command to create a new Git repository:
git initThis command initializes a new Git repository, creating a hidden `.git` directory that will track your project’s changes.
5. **Verify the Repository**: You can verify that your repository has been created by checking the status with:
git statusThis will show you the current state of your repository.
Remember to use descriptive names for your directories to keep your projects organized. Always ensure you are in the correct directory before initializing a repository to avoid confusion later on.
Step 5: Add Files to the Repository
To successfully add files to your newly created Git repository, follow these detailed sub-steps:
1. **Create or Copy Files**: Begin by creating new files or copying existing files into your repository directory. You can use any text editor to create files or simply drag and drop files into the folder where your Git repository is located.
2. **Open Command Prompt**: Navigate to the repository directory using the Command Prompt. You can do this by right-clicking inside the folder and selecting “Open in Terminal” or by manually navigating using the `cd` command. For example:
cd path\to\your\repository3. **Check File Status**: Before adding files, it’s a good practice to check the status of your repository. This will show you which files are untracked or modified. Use the following command:
git status4. **Stage Files for Commit**: To stage the files you want to include in your next commit, use the `git add` command followed by the file name. If you want to stage a specific file, type:
git add filename.txtIf you want to stage all changes in the directory, use:
git add .5. **Verify Staging**: After staging your files, you can run `git status` again to confirm that the files are now staged for commit. They should appear under the “Changes to be committed” section.
Remember, staging files does not save them to the repository. You must commit the changes to finalize the addition.
Step 6: Commit Changes
Once you have