7 min read • 1,537 words
How to Set Up a Java Development Environment
Setting up a Java development environment is a crucial step for anyone looking to dive into Java programming. This process involves installing the Java Development Kit (JDK), which is essential for compiling and running Java applications. Additionally, choosing an Integrated Development Environment (IDE) such as IntelliJ IDEA or Eclipse can significantly enhance your productivity by providing tools that streamline coding, debugging, and testing. Understanding how to set up a Java development environment is not just about installation; it’s about creating a workspace that fosters efficient development practices.
In this article, you will learn the key components necessary for establishing a robust Java development environment. We will cover the importance of setting environment variables like JAVA_HOME, the benefits of using build tools such as Maven or Gradle for managing project dependencies, and the role of version control systems like Git in facilitating collaboration and tracking code changes. By the end, you will be equipped with the knowledge to set up your own Java development environment effectively.
Step-by-Step Tutorial
Step 1: Install Java Development Kit (JDK)
To begin your journey into Java development, the first step is to install the Java Development Kit (JDK). Follow these detailed instructions to ensure a successful installation.
- Download the JDK: Visit the official Oracle website or the OpenJDK website. Look for the latest version of the JDK suitable for your development needs. Make sure to select the version that is compatible with your operating system, whether it is Windows, macOS, or Linux.
- Check System Requirements: Before proceeding with the installation, verify that your system meets the necessary requirements for the JDK. This includes checking your operating system version and ensuring that you have sufficient disk space.
- Run the Installer: Once the download is complete, locate the installer file in your downloads folder. For Windows, double-click the executable file to start the installation process. On macOS, open the .dmg file and follow the prompts. For Linux, you may use a package manager for easier installation.
- Follow Installation Instructions: During the installation, you will be prompted to accept the license agreement and choose the installation path. It is recommended to use the default settings unless you have specific preferences.
-
Verify Installation: After the installation is complete, open your command line interface. Type
java -versionto check if Java is installed correctly. If the version information appears, your JDK is ready for use.
By following these steps, you will have successfully installed the JDK, laying the groundwork for your Java development environment.
Step 2: Set Up Environment Variables
Setting up environment variables is crucial for ensuring that your Java Development Kit (JDK) functions correctly. Follow these steps to set the JAVA_HOME variable on your system.
-
Locate the JDK Installation Directory: First, you need to find where the JDK is installed on your computer. Typically, it is located in a directory like
C:\Program Files\Java\jdk-on Windows or/Library/Java/JavaVirtualMachines/jdk-on macOS..jdk/Contents/Home -
Set JAVA_HOME on Windows:
1. Search for ‘Environment Variables’ in the Windows search bar and select ‘Edit the system environment variables.’
2. In the System Properties window, click on the ‘Environment Variables’ button.
3. Under ‘System variables,’ click ‘New’ and enterJAVA_HOMEas the variable name and the path to your JDK installation as the variable value. -
Set JAVA_HOME on macOS/Linux:
1. Open a terminal window.
2. Use a text editor to open your shell configuration file (like~/.bash_profileor~/.bashrc).
3. Add the lineexport JAVA_HOME=/Library/Java/JavaVirtualMachines/jdk-or the appropriate path for your installation..jdk/Contents/Home
4. Save the file and runsource ~/.bash_profileorsource ~/.bashrcto apply the changes. -
Verify the JAVA_HOME Variable: To ensure that JAVA_HOME is set correctly, open a command prompt or terminal and type
echo %JAVA_HOME%on Windows orecho $JAVA_HOMEon macOS/Linux. You should see the path to your JDK installation.
Be cautious when entering paths, as incorrect entries can lead to issues when compiling Java programs. Always double-check the path you provide to avoid any complications.
Step 3: Install an Integrated Development Environment (IDE)
1. **Choose an IDE**: Start by selecting an IDE that suits your Java development needs. Popular choices include IntelliJ IDEA, Eclipse, and NetBeans. Each of these IDEs offers unique features, so consider what functionalities are most important for your projects.
2. **Download the Installer**: Visit the official website of the IDE you have chosen. For example:
– For IntelliJ IDEA, go to jetbrains.com/idea.
– For Eclipse, visit eclipse.org/downloads.
– For NetBeans, navigate to netbeans.apache.org.
Click on the download link for your operating system and save the installer to your computer.
3. **Run the Installer**: Locate the downloaded installer file and double-click it to start the installation process. Follow the on-screen instructions to install the IDE. Make sure to select options that allow the IDE to integrate with the JDK you installed earlier.
4. **Configure the IDE**: After installation, launch the IDE. You may need to configure it to recognize the JDK. In IntelliJ IDEA, for instance, go to File > Project Structure > SDKs, and add the JDK path. In Eclipse, navigate to Window > Preferences > Java > Installed JREs, and add the JDK.
5. **Explore Features**: Familiarize yourself with the IDE’s features. Utilize built-in tools like code completion, debugging, and version control integration to enhance your productivity. Consider installing plugins for additional functionality, such as enhanced code analysis or support for frameworks.
**Warnings**: Ensure that the IDE version is compatible with the JDK version you installed. Avoid using outdated versions of the IDE, as they may lack important features or security updates.
Step 4: Create a New Java Project
Creating a new Java project is a crucial step in setting up your development environment. Follow these detailed instructions based on the Integrated Development Environment (IDE) you are using.
1. **Open Your IDE**: Launch IntelliJ IDEA or Eclipse, depending on your preference.
2. **Creating a New Project in IntelliJ IDEA**:
– Select ‘New Project’ from the welcome screen.
– In the project type selection, choose ‘Java’.
– Click ‘Next’ to proceed.
– Specify the project name and location. It is advisable to organize your projects in a dedicated workspace folder for better management.
– Choose the appropriate JDK version from the dropdown menu. If you have not installed a JDK yet, you will need to do so before proceeding.
– Click ‘Finish’ to create your project.
3. **Creating a New Project in Eclipse**:
– Navigate to the menu bar and click on ‘File’.
– Select ‘New’, then choose ‘Java Project’.
– In the dialog box that appears, enter your project name.
– Ensure that the ‘Use default location’ checkbox is checked unless you want to specify a different directory.
– Click ‘Finish’ to create the project.
**Tips**: Familiarize yourself with the project structure generated by the IDE. This will help you understand where to place your source files, libraries, and other resources.
**Warnings**: Ensure you have write permissions to the project directory to avoid any issues. Additionally, avoid using special characters in your project name to prevent potential problems with file paths.
Step 5: Write Your First Java Program
1. **Create a New Java Class File**: In your IDE, navigate to the project explorer. Right-click on the ‘src’ folder, select ‘New’, and then choose ‘Java Class’. This will prompt you to enter a name for your new class. Type `HelloWorld` and click ‘Finish’. Your IDE will create a new file named `HelloWorld.java`.
2. **Write the Java Code**: Open the `HelloWorld.java` file. You will see a blank editor window. Start by typing the following code:
public class HelloWorld {
       public static void main(String[] args) {
           System.out.println("Hello, World!");
       }
   }
This code defines a class named `HelloWorld` and a `main` method, which is the entry point of any Java application. The `System.out.println` statement prints the string “Hello, World!” to the console.
3. **Use Code Completion**: As you type, take advantage of your IDE’s code completion feature. This can help you quickly insert methods and classes without having to type everything out manually.
4. **Comment Your Code**: It’s a good practice to comment on your code for clarity. Add comments to explain what each part of your program does. For example:
// This is the HelloWorld class
   // The main method is the entry point of the program
5. **Check for Errors**: Ensure that the class name matches the file name exactly, including case sensitivity. Avoid syntax errors by carefully reviewing your code.
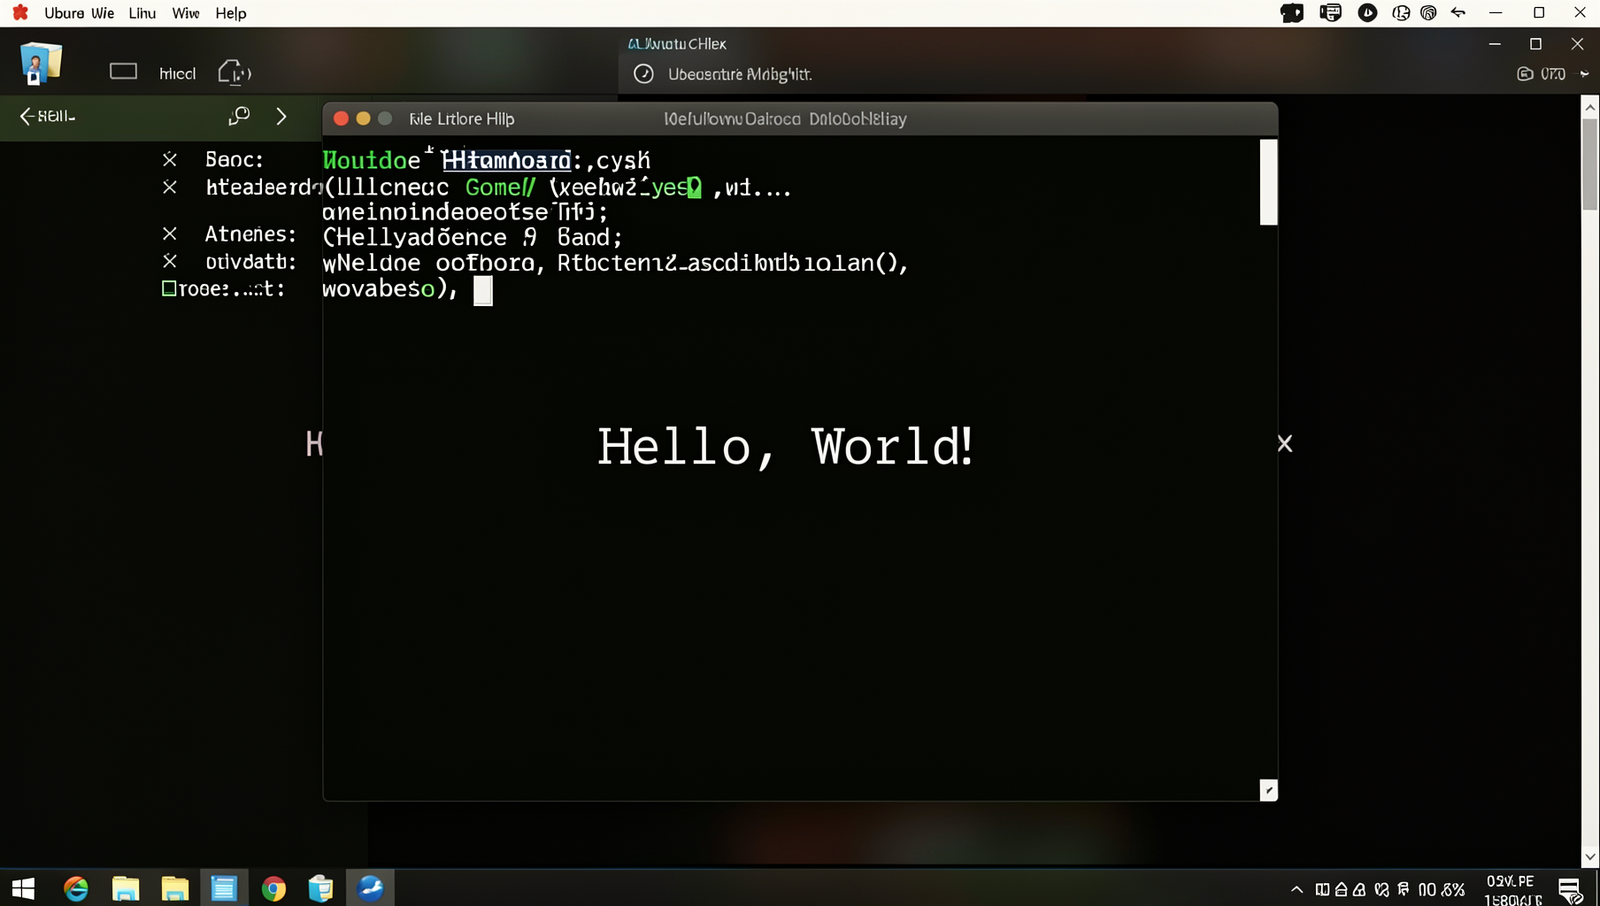
By following these steps, you will have successfully created a simple Java program that outputs “Hello, World!” to the console.
Step 6: Run Your Java Program
1. **Locate the Run Button**: Open your Integrated Development Environment (IDE) where you have written your Java program. Look for the run button, which is typically represented by a green play icon. This button is usually found in the toolbar at the top of the IDE.
2. **Click the Run Button**: Once you have located the run button, click on it. This action will compile and execute your Java